As a big fan of S2D since Windows server 2016 and with more than 15 implementation of various systems and configurations I wanted to help you out with resizing of new (only 2 node S2D on Windows server 2019 supported) feature called Nested mirror and Nested mirror accelerated parity volumes.
First of all – just to be short – Microsoft did a great job to address the possibility of two simultaneous failures in two node S2D scenarios. You have the possibility to use two resiliency mechanisms – one that gives you more performance but it takes a lot of space called – Nested mirror (so all the data is written 4 times – 2 times on one node an 2 times on the other) which gives you ~ 25% of usable space and Nested mirror accelerated parity where you combine nested mirror with parity so you are able to achieve around 40-45% of usable space – but yes – party tier is more compute intensive as redundancy must be calculated – so it reduces performance (test so far do not show dramatic impact).
You can read more about this two options that were released with Windows server 2019 on a Microsoft website – official documentation.
I was playing a bit with configuration of some volumes by using this two new options and I decided to create a mirror accelerated parity which can be done by using Powershell (for not that is the only option).
I created tier templates as described in MS documentation (mentioned earlier). So I finished with the result that looks like:
Get-Volume -FriendlyName NestedMirrorAcceleratedParity | ft
Underneath you can see that there are two tiers that are fundamental parts of this volume.
Get-StorageTier | ft FriendlyName,TierClass,ResiliencySettingName,FaultDomainREdundancy,Size,FootprintOnPool

So if you want to extend your volume you must extend first of all every tier (or only one of them) – so in this case: NestedMirrorAcceleratedParity-NestedParity and/or NestedMirrorAcceleratedParity-NestedMirror.
You can do it just by using commandlet – for example for party tier:
Resize-StorageTier -FriendlyName NestedMirrorAcceleratedParity-NestedParity -Size 6TB
*System will not allow you to go over size of total pool capacity – for example my pool has 24 TB of space – my nested mirror and resiliency have a pretty nice footprint on pool so what I did was a volume that was created from 1 TB of nested mirror (for speed) and 7 TB of parity (for capacity) – S2D / ReFS will take care of dynamic hot/cold data placement.
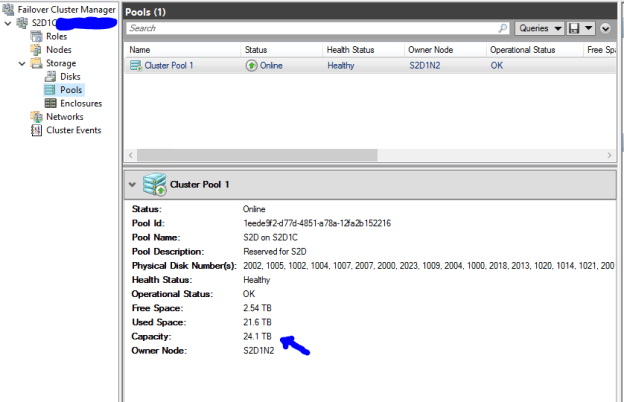
As you can see the sum of FootprintOnPool in TB is under my total capacity and system does not allow me to make a bigger tiers. You can also see storage efficiency that I get from physical disks after using this two resiliency mechanisms.

After resizing one or both tiers than you can query your virtual disk for supported size that it can be extended to.
Get-VirtualDisk -FriendlyName NestedMirrorAcceleratedParity | Get-Disk | Get-Partition | Where Type -eq Basic | Get-PartitionSupportedSize
After receiving the maxsize parameter you can expand your virtual disks partition (in my case from 6 TB to 8 TB (of which 1 TB nested mirror and 7 TB nested parity):
Get-VirtualDisk -FriendlyName NestedMirrorAcceleratedParity | Get-Disk | Get-Partition | ? Type -eq Basic | Resize-Partition -Size 8796076224512
As a result you can see that disk that was resized from 6TB to 8TB in Admin center which I encourage you to try and to start using if you are jumping in Microsoft software defined storage / network journey!

